
Adding A Contact To Addresses
Step 1.
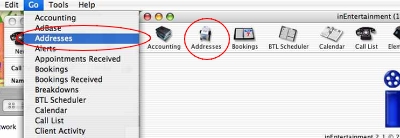
Choose the Address module from the IE home window, or from the “Go” menu in your toolbar.
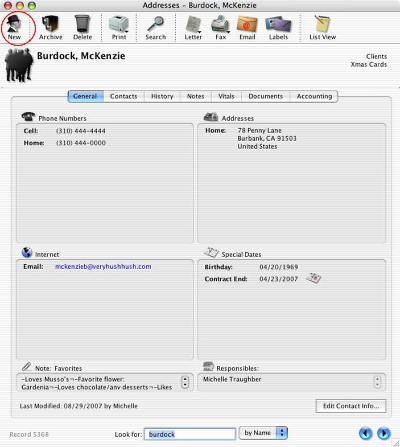
The first card from your addresses will appear. Select “New” or use Command-N on MacOS or Control-N on Windows.
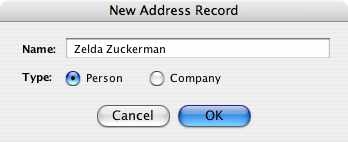
The New Address Record window will appear. Enter the name of the new contact and select whether this is a Person or a Company. This selection is important as it will determine how the cards may be linked in the future. Click “OK” to continue.
Step 2.
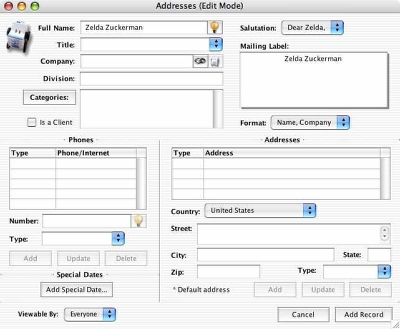
The new address card will appear in Edit Mode. If entering a Company record, the Name and Title fields will remain grayed out.

You can also clarify the name by clicking the lightbulb icon.
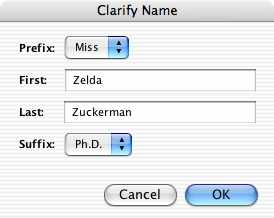
Use the "Clarify Name" window to make adjustments.

Enter the person's title or choose one from the pop-up list.
Step 3.
The Company field is handled in one of several ways.
A) If you are creating a Company address card, the name will already appear in the field. Skip to Step 4.
B) If you are creating an address card for a person, enter the Company name and press the TAB or Enter key on your keyboard to move to the next field.
If this company does not exist in the Addresses, you will be prompted to create a record for it. You can do so or enter the name without making a record for that company.
If you have entered a name that is a partial or identical match for an existing record, you will be prompted to link to a company record.

You may also link this contact directly with a company card by using the link button (1). For more information, see “Linking To A Company” in the IE Help menu. All address information for that company will be pulled into this contact's address record and appear in purple.
You can edit the company address card by clicking the rolodex button (2).
Enter the Division for this entity (3). This can also be used to enter a Room and Building number. Anything entered in the Division field can be selected for this entity's mailing label (see Step 5).

For example, if you enter a Division like this...
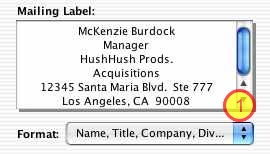
...it will appear (based on your Format selection, 1) like this.

A Room and Building number in this field..
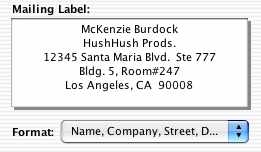
...can appear like this.
Step 4.
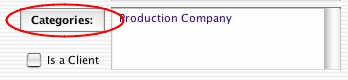
Click on the Categories button to assign categories to this record. Categories from a linked company will already appear in the window.
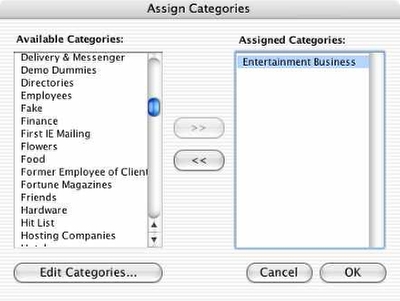
Choose the appropriate categories for this entity or create a new one using “Edit Categories.” When finished, click “OK”.
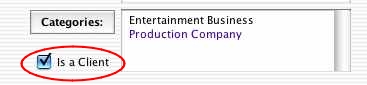
Check the “Is A Client” button to mark this entity as a client. This is necessary for appointments, bookings, calendars, submissions, and in the event you are syncing clients to IE on a handheld device. For more information, see “Adding A Client” in the IE Help files.
Step 5.
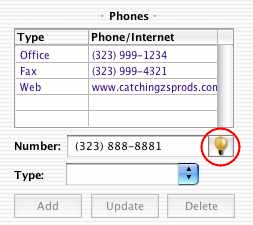
Enter any numbers for this entity. This includes phone and fax numbers, web pages and email addresses.
Note: The first number in the phone numbers list will be the default first position on the address card and the call list. To change the order of the display, click and drag the numbers to desired positions.
You can also clarify a phone or fax number by clicking the lightbulb button.
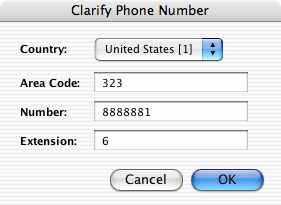
This allows you to correctly enter in phone numbers from other countries and extensions.
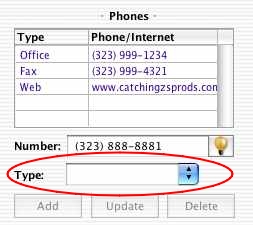
Select the Type of number you're entering from the pop-up list. This will allow you to link to fax cover sheets and emails later on.

To add a Type that is not in the list, type it in and press the TAB or Enter key on your keyboard.
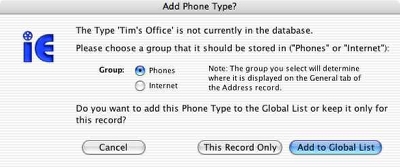
You will be prompted to select a Group for this number, and to keep it for this record or add it to the Global List.
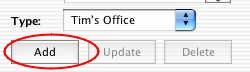
Make your choices, and then click “Add”. Add all phone numbers and email addresses this way before continuing.
Step 5.
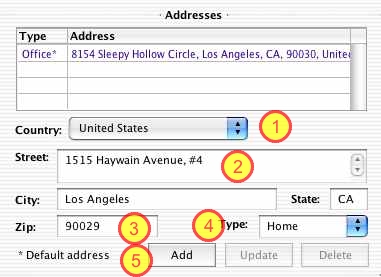
Enter any Addresses for this record.
Note: The Default address for all correspondence will be displayed in the first position with an asterisk. Click and drag a different address into this position if desired.
Select the Country (1) to use for this address (it will default to United States). Enter in the Street address (2).
Enter the Zip Code (3) and press the TAB or Enter key on your keyboard. The City and State will automatically fill in. If you do not know the Zip Code, enter the City name and use the TAB or Enter key. A window will appear allowing you to select the appropriate Zip.
Select the address Type (4). Click “Add” (5) when finished or use the Enter key on your keyboard. Add all addresses this way before continuing.
Step 6.
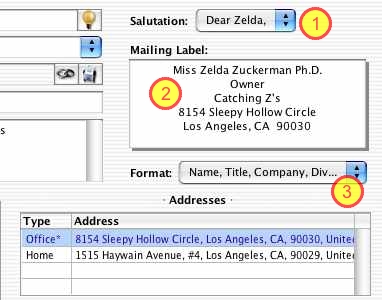
Select the appropriate Salutation for correspondence with this contact (1).
The Mailing Label field (2) will display how the mailing label will format. To adjust this Format, use the pop-up list (3).
Step 7.
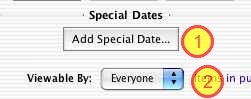
Add a Special Date to this card, such as a contract end (1).
Select who this card is Viewable By (2).
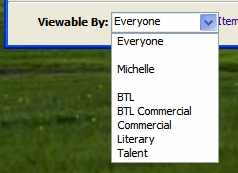
For example, you can choose only your name from the pop-up list to make this record private, or enable only a certain department to view it.
Step 8.

Click “Add Record” at the lower right corner of the Edit window when you're finished.
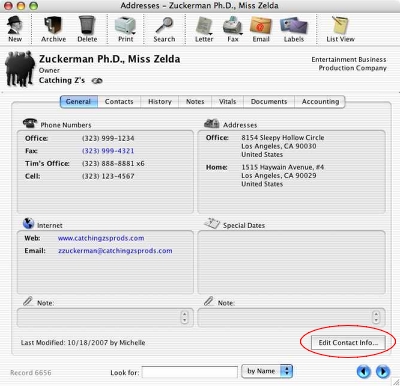
The new address card will appear. You can edit the information at any time by clicking “Edit Contact Info”.