Step 1
To group certain calendars together so they can be viewed simultaneously, you must create a Set. You can then allow other users to view this Set.
NOTE: In order to have privileges to edit Sets, you must be granted access by someone with Admin privileges.
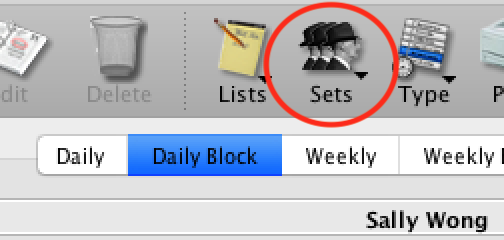
From any calendar View, locate the “Sets” button at the top of the window.
Step 2
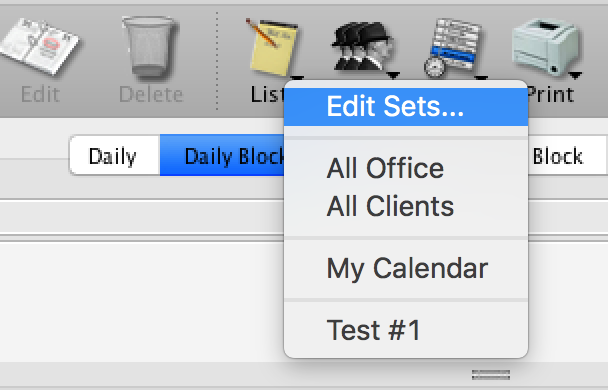
Click and hold on the “Sets” button until a pop-up menu appears. Select “Edit Sets” from this menu.
Step 3
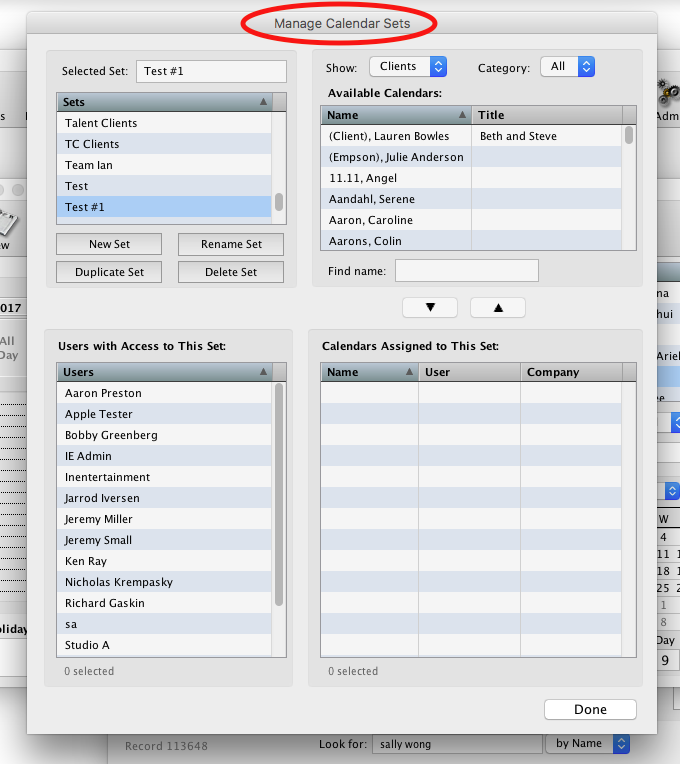
The “Manage Calendar Sets” window will appear.
Step 4
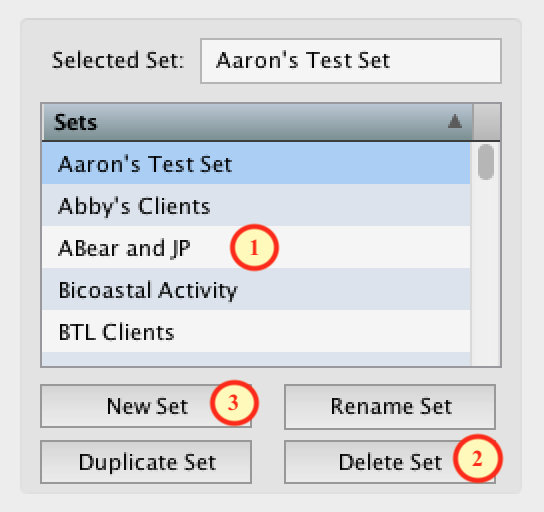
The available Sets will be located in the upper left hand portion of the window (1). You can Rename, Duplicate or Delete a set by highlighting its name and selecting the appropriate button (2). Or you can select the New Set button to create a different set (3).
If you are creating a New Set, proceed to Step 5. Otherwise, skip to Step 6.
Step 5
Enter the name of the New Set you’re creating, and click “OK“. This new set will now appear in the available Sets list.

Step 6
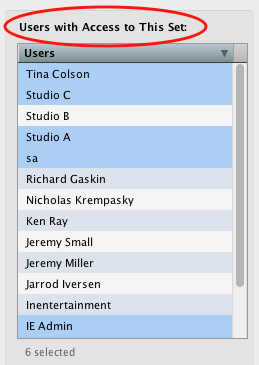
In the lower left hand portion of the “Manage Calendar Sets” window, select which users will have access to a Set by highlighting their names.
Step 7
The right side of the “Manage Calendar Sets” window allows you to assign Calendars to this set. The Calendars Assigned to this Set list will appear in the lower right (1). The Available Calendars list to choose from are located on the right (2).
![]()
Step 8
Use the arrow keys to assign a calendar (1) or removed calendar (2).

Step 9
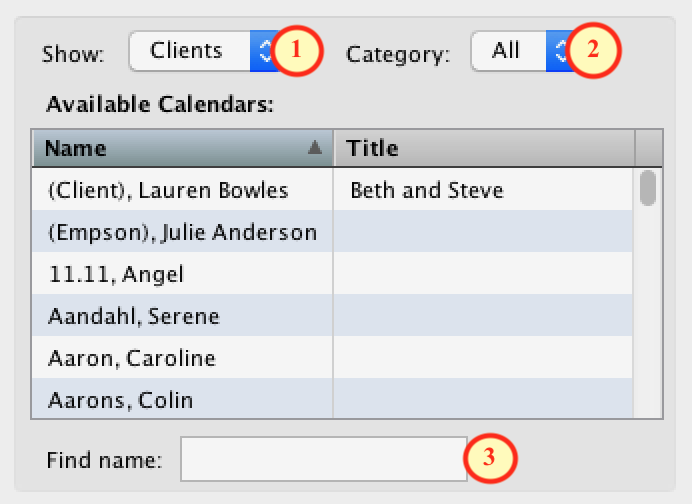
The Available Calendars allow you to assign any combination of User and Client calendars to a set. There are several filtering options for displaying available calendars in the list: the “Show” menu (1), the “Category/Group” menu (2), and the “Find Name” field (3).
Step 10
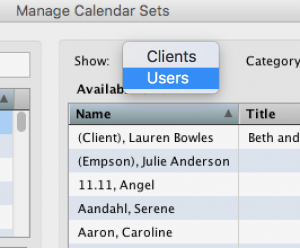
The “Show” menu will let you view User or Client calendars by clicking the blue arrow button and selecting “Users” or “Clients” from the pop-up menu. All User or Client calendars not already assigned to this set will be displayed in the list accordingly.
Step 11
The “Category” or “Group” menu will display depending on whether you are viewing Client or User calendars.
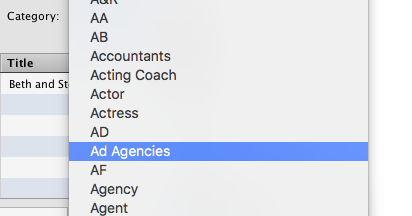
For Clients, you will be able to choose from a particular Category, or view all Clients.

Step 12
Click the blue arrow button to access the pop-up menu and select the appropriate Category.
Step 13
Use the “Find Name” field to look for a particular User or Client calendar. Possible matches will appear in the list as you type; continue until the correct name is displayed.
![]()
When you are finished, select “Done“.